How to Make a Dry Bag
Published by Ian Fortey in nauticalknowhow Last updated on January 2, 2024
One of the most frustrating parts of enjoying the out-of-doors is keeping your things dry. Whether you’re boating, camping, hiking, or fishing, you need a good dry bag to store your gear. There are plenty of dry bags you can buy in stores or online. But DIY dry bags are just as good and will save you money. Finding the right dry bag DIY instructions aren’t always easy though. The process isn’t as easy as sewing together a sack with a drawstring. If you want to make it right, it will take some effort. The end result is worth the time involved.
What is a DIY Dry Bag?
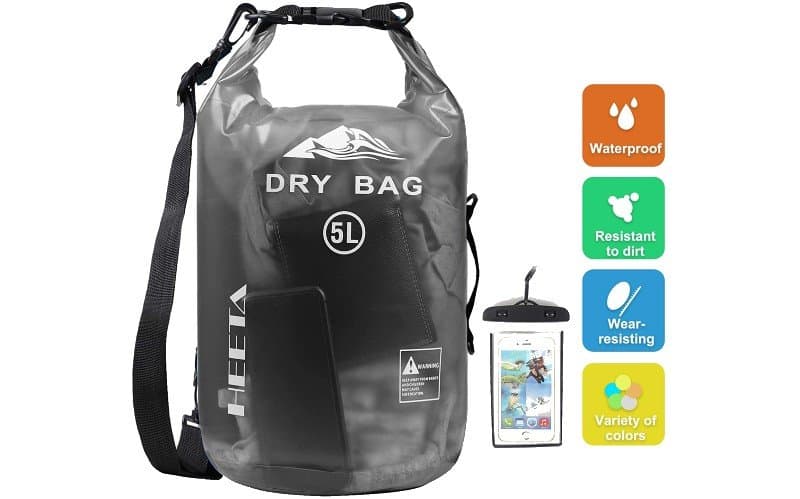
A DIY dry bag is a waterproof, flexible container that holds your belongings. It will protect them from all the elements, not only rain. A quality DIY dry bag will keep your valuables clean from dirt and debris. It will also protect them from thorns and underbrush. And of course that protects from bugs, sun damage, and just getting lost.
A good quality DIY dry bag is made of waterproof material. You can make your own out of cloth, canvas, or whatever you have handy. But the more waterproof the material the better. Afterall, a DIY dry bag that doesn’t keep things dry isn’t much good. Make sure you’re picking the best material for your dry bags.
Why Not Use Freezer Bags?
In a pinch, you can always use a Ziploc freezer bag to store your gear. They seem to be perfectly sized to store your wallet and your phone, for instance. But a DIY dry bag does have a difference. First of all, a dry bag will be bigger. You can store a lot more gear in a dry bag than in a freezer bag. A dry bag also has other advantages. As we said, it protects for more than water. A Ziploc bag wouldn’t do much good against a bush full of thorns. Plus, a Ziploc bag has no handles. You’d still need to carry it in something. A dry bag is a time-saver.
How to Make Your Own Dry Bag
Before you begin to make your bag you’ll need a few things to prepare. The first thing to consider is your skill level when it comes to using a sewing machine. If you want the dry bag to be effective, you’ll need to be Adept at sewing. If you haven’t sewn much in the past, you should get some practice before trying this. Your dry bag may not be water proof if you are not confident in your sewing skills.
There are some materials you’ll need to gather to prepare yourself to make a dry bag. Make sure you have these things on hand:
- Scissors
- Durable fabric, preferably waterproof. Cordura fabric is a common kind of water proof fabric ideal for this job. Oilcloth or something with a polyurethane coating will also work. Gore Tex is also a popular choice for resisting water.
- Webbing. This is a sewing term that means a strong fabric used for straps. Webbing is the kind of material backpack or shoulder straps are made from. Careful when you sew this with your sewing machine. This is very thick and may be difficult.
- Plastic side release buckle
- Rigid plastic
- Sewing machine
- A lighter
- All-purpose polyester thread
- Seam sealer
- Clips to hold the fabric together. Normally you use pins to hold fabric when sewing. You don’t want to do that when making a dry bag. The point is to keep it water proof and free from holes.
Measure Your Fabric: You need to determine the size and shape of your bag. Too small and you won’t be able to carry all your gear. Too big and it would be impractical. When cutting remember to include extra for the hems and seams. For the sake of this example we are going to use a circle that is 7 in in diameter. If you choose to use larger, scale up your other dimensions proportionally. Of that 7 inch diameter, you’ll need an inch on the edge for the seam allowance.
For the body of the bag, you need to measure a rectangular length of fabric. It has to be able to wrap around the circle’s circumference. For a 7-inch circle, the circumference is 21 inches. Add an extra inch for the seams as well. So your rectangle should be 22 inches in length. The height of the fabric is up to you. This depends on how deep you want your bag to be. A good size might be an extra 2 inches on top of the length around. Perhaps 24 inches in length. This really depends on your preferences, though.
Remember to add two inches for the folded over seams at the top of the bag.
Sew the Body: You need to sew the rectangular piece of fabric. Do this inside out and sew the ends together with your seams the appropriate size. This will make a fabric tube. You can now sew one end of the fabric tube onto the fabric circle that you cut. Remember that you’re sewing inside out here. Match the right side of the fabric circle to the right side of the fabric tube.
Seal the Seams: You can use the lighter to very carefully melt the seam all the way around the base. Also along the length of the body. Make sure you do this carefully. You just need enough heat to melt the fabric. This will create an airtight seal. Inspect for any holes. You may also use a seam sealer at this point.
Sew the Top Edge: You’ll need to insert plastic into the top edge for rigidity. A sheet of plastic like a pliable cutting board will work. Or you can even cut strips from a plastic bottle. They only need to be about an inch or two thick. Lay the bag out flat with the seam in the centre. Levi stiff plastic piece along the top of the bag and cut it to fit.
Fold down the top flap of the bag. This is what you added the extra 2 inches of length for. Sew this top flap down and insert the plastic strip.
Prepare the Straps: Sew the plastic side release buckle to the ends of the webbing. The same way they would be sewn onto backpack straps. One end male, one end female. Measure the webbing to fit the top of the bag where you place the plastic strip. At this point, with the internal seam, the length across the top of your bag should be 10 inches. You want webbing to fit that length.
Cut your webbing to be 20 inches in length. Sew the buckles about 9.5 inches apart. Then sew the hanging straps of webbing together. When you lay it across the top of the bag now, it should fit exactly. Sew this strap of webbing on the opposite side of the bag that you put the plastic strip on.
Cut a hole under each end of the slide release buckle to slide it through. Remember, your bag is currently inside out. You’re now going to slide the buckles through so that they’re on the right side of the bag.
Finishing the Bag: Flip your bag inside out now and sew the buckles on the outside as well. You can now seal the bag by rolling down the stiff plastic edge. Do this three or four times. Then clip the buckles together and your bag is sealed tight.
The Bottom Line
DIY dry bags are not that difficult to make. When you know how to use a dry bag, and how to make a dry bag, they are invaluable. Whether you are fishing or just taking the boat on the water, they’re handy and important. Plus the sense of satisfaction in making your own is something you can’t discount.
Categories: nauticalknowhow