How to Paint an Aluminum Boat
Published by Ian Fortey in Boats Last updated on February 12, 2023
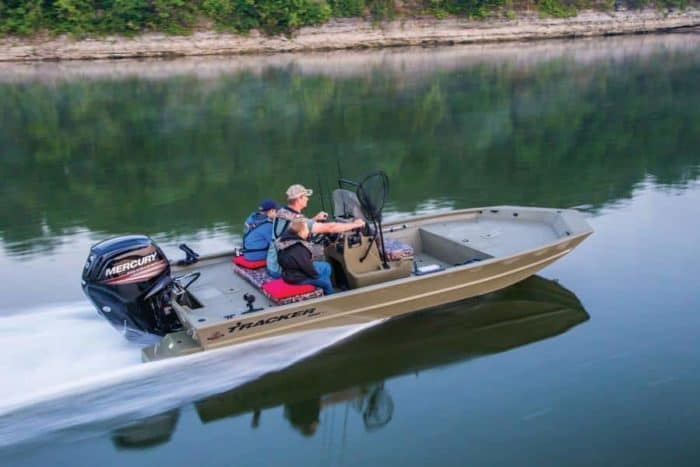
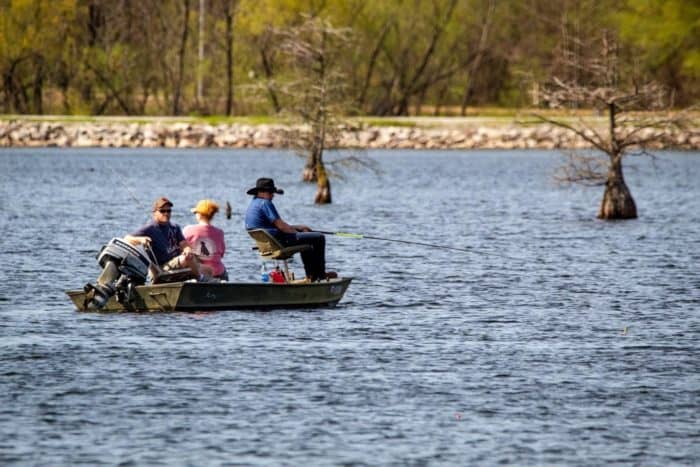
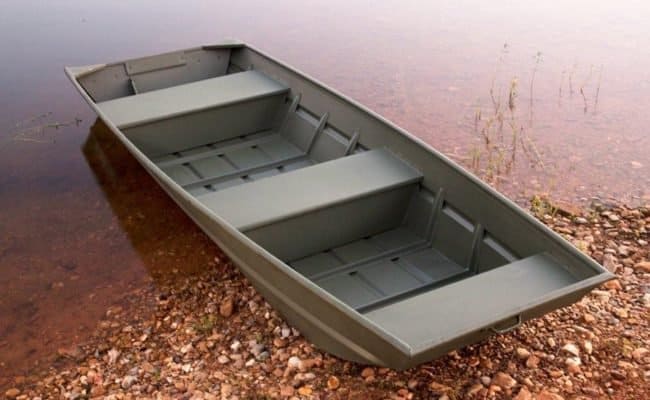
The upside to aluminum boats is that, by and large, they tend to be pretty tough, lightweight and affordable. If you’re looking for a reliable fishing boat, a good quality aluminum fishing boat or an aluminum jon boat might last you for years, especially if you take good care of it. That said, because a lot of aluminum boats take more than their fair share of abuse out on the water, they can end up looking pretty rough over time with scratches being one of the most noticeable problems.
If you’re looking to breathe new life into your old aluminum boat or you picked up a used one and want to make a fresh start on the water, painting is likely your best option here. A good paint job can keep your boat not just looking good but help ensure it lasts longer as well.
Some boaters find the idea of painting aluminum a little intimidating but it’s actually relatively easy once you know how to approach it. The key is making sure you take the time to do it right. If you’ve ever seen a boater who didn’t put in the effort to paint an aluminum boat the proper way, you’ve probably seen the results. It can end up looking ugly and not lasting long at all.
So, let’s take a look at the steps you’ll need to take to paint your aluminum boat to ensure it looks good and lasts a long time.
Gather Your Supplies
This is likely one of the most divisive points for painting an aluminum boat. What all do you need? You can do this relatively cheaply, somewhere around $200 to $300. Not pocket change, but cheaper than a professional paint job, for sure. At the very least, I recommend having the following on hand.
- Gloves
- Eye and ear protection
- Face mask
- Stiff bristle brush
- Sander or sandpaper – 180 grit or finer
- Fine steel wool
- Masking tape or painter’s tape
- Scraper
- Rags
- Drop cloth
- Plastic sheeting
- A fan (optional, but helpful)
- Paint stripper
- Aluminum primer (enough to cover the entire boat as per instructions)
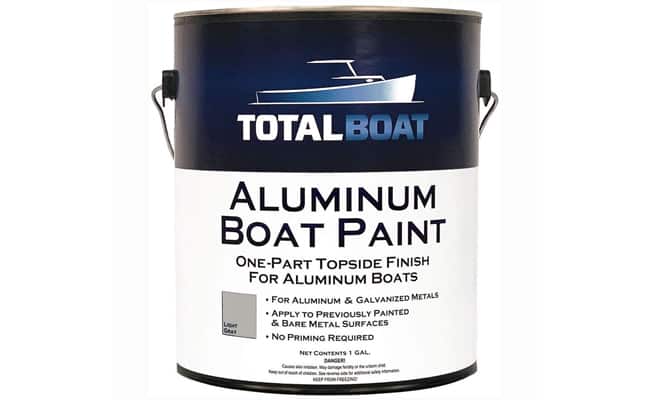
- Marine safe aluminum paint (again, enough to cover the whole boat)
- Textured interior paint if painting the inside of the boat as well
- Clear coat
This should be all you need to get your boat looking pretty good. You can obviously go for some more extravagant touches, even renting a paint sprayer for a more professional approach to painting but it’s not technically necessary. I would recommend spray painting as opposed to hand painting, but either works and if you do choose to hand paint then of course you’ll need brushes or rollers for the task. For my tastes, I’d prefer spray painting because I think the end product is more likely to look smooth and even compared to hand painting which can leave brush marks.
Preparing Aluminum Boats for Painting
Before you get started, give your entire boat a good inspection. If we’re assuming you’re painting it because it’s a little older then it may have spots that need attention. Cracks in dents, corroded spots and so on should be repaired before you take the time to paint, otherwise it’s not going to work that well. Make sure the transom, the keel and the strakes. If you have issues below the waterline you can use something like flex tape as a repair. It’s not pretty but no one is going to see it anyway.
Small dents can be hammered out easily enough, but do so cautiously so you don’t make it worse and create any cracks. You can use something like JB Weld marine weld or another marine epoxy to patch small cracks and holes. Make sure you follow the directions to the letter on those products and make sure they are appropriate for the size and type of hole or crack.
Rusted bolts and rivets can be drilled and replaced now if necessary as well so you start with a clean slate, so to speak.
Strip the Old Paint
If your hull is in good enough shape, you’ll need to clean it. If there’s old paint on the hull you’ll need to strip that first. Paint stripper gel can really make short work of this and save you the time of scraping, sanding and scraping so more to get the last bits off. Something like Citristrip stripping gel is non-toxic and effective.
You can follow the directions on the bottle for how to use this but basically you need to paint it on the hull and cover it with plastic so it doesn’t dry out. This lets the gel penetrate through all the layers of the paint to the aluminum and help pull it up. It should take a couple of hours. After that, using a scraper you can just peel the old paint off.
If you choose to not use the paint stripper, then you can use the scraper or sander on the dry painted surface to buff it all off. Make sure you have goggles and a mask for this process. You may also need to use your sander with a wire wheel to get difficult spots off that the stripper just couldn’t clean.
Clean Your Hull
If you didn’t sand to remove the paint, you can do this now. It may take a lot of extra time and, when you’re done, you very much need to make sure you clean the entire surface again well to remove any fine dust or else you’ll end up making it even harder to paint, so keep that in mind.
Sand in one direction and stick to a fine grit like the 180 we recommended. If you have spots you plan to leave unpainted and you just want to polish, you can use something closer to 220.
Once sanded, there are specific aluminum cleaners for this purpose and you can pick up a bottle online or at hardware stores. Make sure that you are using it as directed as there are a few different products available and the way to best use them can vary. Essentially you’re making sure any dirt, grease, corrosion and adhesives are all removed from the hull.
This is best done in a garage with the door open for air flow and ventilation. You don’t want to be out in the rain, but the fumes from what you’re working on can be dangerous so you don’t want to be sealed up, either.
Polish the Bare Aluminum if Desired
If you’re looking for polished aluminum here you have a couple of choices. You can use a polishing wheel or you can use something like a 400 grit. Keep it wet and hand polish to a shine.
Prep the Interior if Necessary
If you plan to paint inside the boat as well, then this is a similar but not exactly the same process. Chances are if you have an older aluminum fishing boat with a painted interior, you will never get the interior clean. Getting all the paint out of a boat interior with the angles that exist in there is the sort of job that will drive you mad and take days. It will also not be done after all those days, either. Strippers won’t get in all the cracks, sandpaper and wire wheels can’t do it either. My advice is to not stress over it.
Instead, clean and prep the interior as normal because the pain you’re applying will stick just fine and cover the old stuff anyway.
Wash Up
Use soap and warm water or the aluminum cleaner to clean off the hull completely when you’re done to remove any particles. You’ll need to make sure the hull is fully dry before proceeding any further. Do this inside and out.
Tape Off the Hull
Assuming there are parts of the hull you don’t want to paint like the polished aluminum areas, you need to tape those off. A little painter’s tape or masking tape works the same on the hull as it does on a wall at home. Just make sure you’re applying it level and straight so nothing looks off when you’re done.
Apply Aluminum Boat Paint to the Interior
If you are painting the boat’s interior, it’s easier to do it first. It’s easier to move and maneuver the boat when the outside is still unpainted. The best way is to prop it up on its side so you have access to the entire inside. You can lean it on the wall of the garage or, if someone is willing to help, have them steady it for you. You’ll want to have your drop cloths down and make sure you tape on some paper as a skirt to protect the edges so you don’t accidentally paint the exterior.
This is also a good opportunity to perfect your technique whether you’re using spray cans or brushes/rollers. You want smooth, even application so you can get a feel for how the paint flows and covers and if you have a few uneven spots it’s less of an issue on the inside of the boat. You’ll be standing and walking in here, getting it dirty and banged up with fish and gear, so it’s okay to make this your test area and not have it come out 100% perfect.
I recommended a textured paint here, different from what will be outside of the boat. You want durability and a textured paint will also make it less slippery for when it is wet. A good primer plus paint all in one that has texture gives traction and the appearance makes it easier to hide any mistakes you may make when getting the hang of painting the boat.
- Apply paint slowly. Because the boat is on its side, gravity is going to make it run so you want slow and even covering to prevent that as much as possible.
- For good coverage of both color and texture you want at least two coats but probably three. Check the directions on your paint but expect to wait at least 30 minutes between coats. You can use your fan during the drying process to speed this up.
Painting The Exterior of Your Aluminum Boat
Once the interior is dry, you’ll need something to elevate and hold the boat off the ground for painting the exterior. A work bench, table, whatever that is sturdy and reliable and hold it at a good height for painting. If all else fails, you can paint it on the ground; it’ll just be more awkward. Make sure your drop cloth is down whatever way you decide to do it.
Prime First
Make sure you have the boat taped up as you want it. Use paper to cover the places that need to remain unpainted so no extra spray or drips get on it. Now you can start by priming.
Use some mineral spirits and clean rags to wipe the aluminum free of oil and any other contaminants. This will leave the surface as good as it can get for the primer. The best primer for aluminum is a self-etching primer and there are several brands to choose from.
Follow the directions for use and use it in a well-ventilated space. You only need a thin coat of primer on your boat and don’t stress over covering each and every square inch in your first pass. You’re going to do about three coats so just cover as evenly as you can in one go then start over again with a new coat.
If there are any imperfections in the primer coat when you’re done, like noticeable drips that might make lumps in the final paint job, use the steel wool to smooth them out.
Paint
With your primer down you can use many kinds of paint to finish your boat off. You’ll see a lot of aluminum boats with really plain and neutral paint jobs but you don’t have to go that way if you don’t want to. There are literally dozens of brands you can choose from including various exterior paints, water resistant marine paint and automotive paints, so pick the color you prefer and go to town.
You’ll want to do several coats of paint to get the look you need. Three coats or even four ought to work, depending on the brand of paint. Apply it as smoothly and evenly as you can for each coat, waiting several minutes with your fan blowing to allow it to partially dry (maybe 10 minutes between each coat) and then paint again.
Clear Coat
Because of the environment your boat is going to be in, out on the water and in the sun, you definitely want to have a clear coat to protect it against UV. Make sure your clear coat is marine grade since you don’t want to damage the environment. Follow the directions for the specific brand you purchased and apply as necessary.
Dry
You’ll want to give the boat at least overnight to fully dry out. Then you can peel off any tape and get a look at the finished product. It should be allowed a couple of days to fully cure before you take it out on the water again.
How To Paint An Aluminum Boat Video
If you find it easier to follow a video, this one here offers a quick, basic and simple plan for painting your boat. This is for working on the cheap and to get an old boat looking decent again rather than a full, perfect restoration. I like this one because it’s easy, it’s super budget friendly, and the results are decent.
The Bottom Line
Painting aluminum boats or jon boats can be a simple and fairly cost effective process. You will need to take some steps to properly prepare the aluminum surfaces ahead of time and you’ll need to make sure you’re using a clear and well prepared surface. If you get any loose paint on surfaces you want to keep clean, a little paint thinner on a rage can help you clean it off quickly before it dries. Your newly painted aluminum boat will be ready to hit the water in no time.
Categories: Boats