How to Make a Boat Cover
Published by Ian Fortey in nauticalknowhow Last updated on August 27, 2020

You should never underestimate the importance of a boat cover. A good boat cover will protect your boat from dirt and debris. Not to mention wear and tear from the sun and the rain. And of course it can protect from dings and scrapes as well. Not every cover needs to be a custom boat cover.
The problem is that many boats are oddly sized and shaped. There’s no real quality boat cover you can buy on the cheap to cover your boat. There are generic box covers you can buy at stores like Walmart. Walmart boat covers are not very high-quality, however. If you want a boat cover built to last, it’s not the best place to go. The boat covers Walmart offers are cheap for a reason.
If you head to a canvas shop to get one made for you, the price could cause you to do a double-take. On the low end of the scale you can expect to pay about $60 an hour for custom canvas boat covers. It’s also going to take about 9 hours’ worth of work at the minimum. That’s a $540 custom boat cover. At the high end of the scale you could be looking at over $1,300 for a mooring cover for a 24 foot Ski boat.
Why You Need to Make a Boat Cover
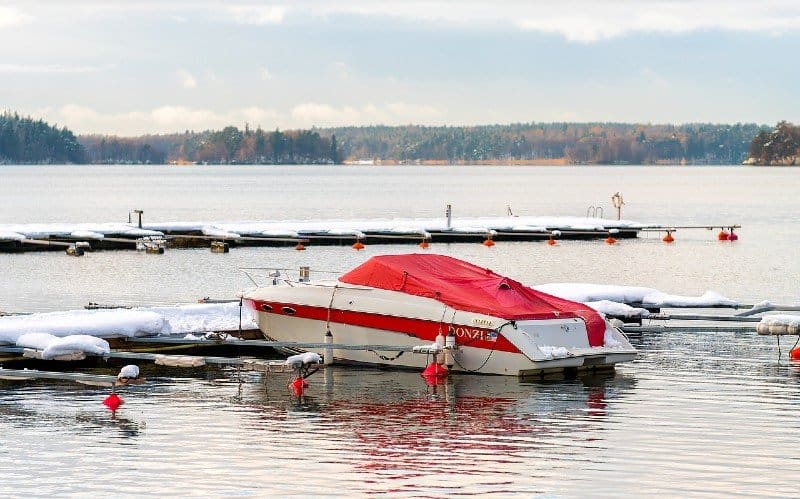
A boat cover is more than just an accessory. It’s a way of protecting your investment. Considering how much money a boat costs, you should want to do whatever you can to keep it in the best shape possible. When properly fitted, a boat cover does just that. Not every boater is convinced a boat cover is necessary. But take a look at exactly what a good quality boat cover can do.
- Protects against dust, dirt, and debris
- Prevents fading and damage from the sun’s harmful rays
- Keeps water and moisture away from your boat
- Prevents mold from forming
- Can keep animals from getting into your boat, and especially birds for making a mess on your boat
- It can also act as security for your boat by discouraging would-be vandals or thieves
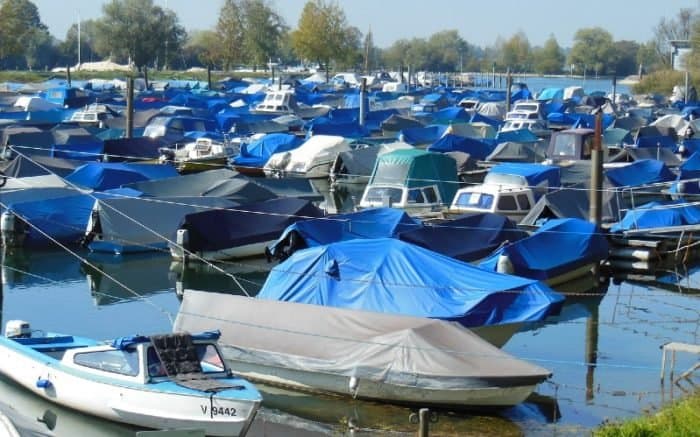
The key to all of this is a well-fitted boat cover. Using any old boat cover won’t do. That’s why making your own boat cover to fit your boat specifically is one of the best things you can do.
How to Make Your Own Boat Cover
Making your own boat cover won’t just save you a lot of money. It will also ensure a perfect fit if it’s done the right way. The steps to make your own cover that are not as hard as you might think.
Measure the Boat: The first step towards making any decent boat cover is to know the exact size of your boat. Start by measuring the stern at its highest point. That could be the stern itself, or along any rails you may have. Write down the measurements on a rough sketch of your boat so that you’ll be able to refer to it later.
You can now move on to the windshield and measure the width and the height of its peak to the rub rail. After that measure the widest part of the bow and include the height of the rub rail if you have a railing there.
Get a full measurement from the bow rail to the stern rail. Make sure to cover every high point like railings, the windshield, and anything else. This ensures you’ll get a precise end to end measurement.
Double check all your measurements, just in case. When you record them remember that you don’t want a boat cover that fits too tight. Nor do you want a boat cover that’s too loose.
Buy Your Material: When most people talk about boat covers they use the word canvas. When you’re doing work making it, that’s called canvas work. In this instance, canvas doesn’t necessarily mean what you think. It doesn’t have to be that thick material that is literally canvas. Any kind of fabric or material can get the job done here if it’s light enough and strong enough.
One of the best places to get material for making a boat cover is from Sunbrella. Sunbrella sells a wide range of their own boat covers and bimini top. But they also supply the raw material that you can use to make your own boat cover.
Depending on your supplier, you could get Sunbrella acrylic fabric for around $24 per yard. This fabric is some of the best in the industry. It resists mold, water, and mildew. It also resists UV rays and it won’t stretch or shrink.
In order to sew your fabric, you need a special thread. This isn’t the kind of stuff you find at the local craft store. Use something called a V-69 polyester sailmaker thread. It’s high strength and it will not degrade in sunlight. It resists saltwater, mildew, and rough wear and tear. A 1,300 yard spool of it will cost you $13.
A number 18 needle is recommended for sewing any three ounce to six ounce fabric. That includes the fabric that Sunbrella sells. You can get a pack of them pretty cheaply on Amazon. You want to make sure you have a number of spares because odds are you’ll break a few in your sewing machine.
If you’ve ever seen any professional tailors work, then you’ll know you need chalk. White chalk is good for marking fabric without permanently damaging it. Also, a solid pair of scissors to cut fabric will be very important. You may also want to pick up a stitch ripper to help fix any mistakes. Also, something called basting tape. Basting tape is a double-sided tape specifically used for canvas. It will allow you to precisely lineup and affix your fabric before sewing. This greatly cuts back on mistakes.

Cut Your Fabric: Now that you have everything you need and you can cut your fabric to size. Remember that you’re going to need some extra to stretch the cover around the sides of the boat. You also need room for ties to keep it tightly fit. Cut your panels to fit across the widest segments of the boat.
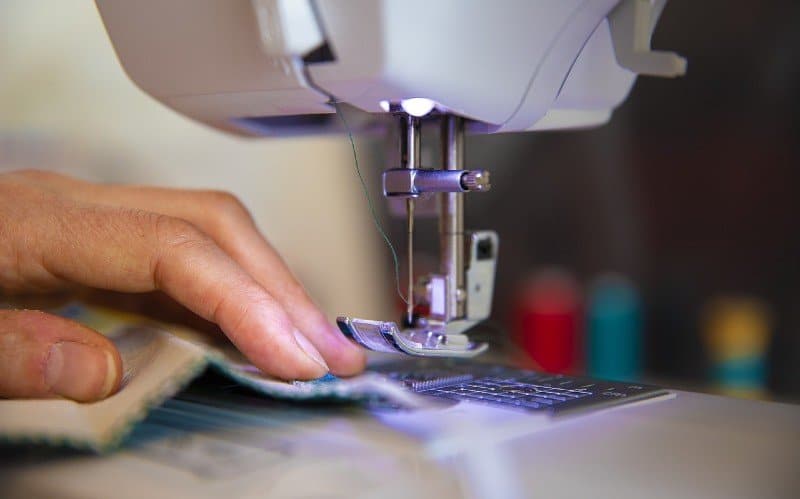
Stitch Your Panels: Overlap the fabric panels so they have about a 5/8 of an inch seam. Lay all the panels over your boat with this overlapping seam to ensure they fit. If the size and fit works out, you can use the basting tape to hold the seams where you’ve laid them out. At this point, you can use your sewing machine and stitch the fabric panels together.
Once you have the basic shape stitched together, place the stitched cover over the boat. Use your chalk to mark where you need to trim the edges down. Use your shears to cut it down to a reasonable size all the way around.
Set up Your Draw Cord: You should have left enough material around the edges to hem the edge. This will allow you to run a rope or draw cord around your cover.You’ll need to cut holes to allow the rope to come out. You should secure it with some large grommets. Alternately, you can fold the edges of the holes back and sew them to create a drawstring pocket.
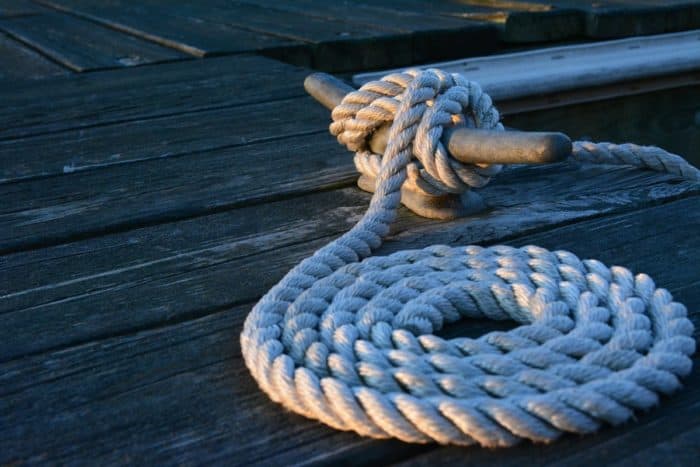
Insert the Ropes: Make sure you have chosen a good quality, water resistant rope. Run it through the holes and leave a reasonable length for a drawstring at the end.
Cover the Boat: Now that everything is the right size and shape, send it over in the boat. If anything needs adjusting, now’s the time to do it.
Test the Ropes: At this point you can check to make sure you have enough rope so that you can pass it under your boat. kite securely to make sure it’s the way you want it to be. If everything looks good, you just made and secured your own boat cover.
Things to Remember
As you can see, the process of making a cover is not that hard. If you can use a sewing machine and measure materials, you can make a cover. The cost in materials versus what you have to pay for a custom cover is quite dramatic. You may have to hone your sewing skills first if you’re not comfortable sewing heavy material. Make sure you try a few scraps panels ahead of time to get the hang of it. Don’t panic if you break a needle, as it’s probably going to happen a few times.
Categories: nauticalknowhow


1 Comment
Urban Faria on September 6, 2020
Very, very interesting to me as I want to start a boat covering/canopy/cushion hobby as a retirement pastime.