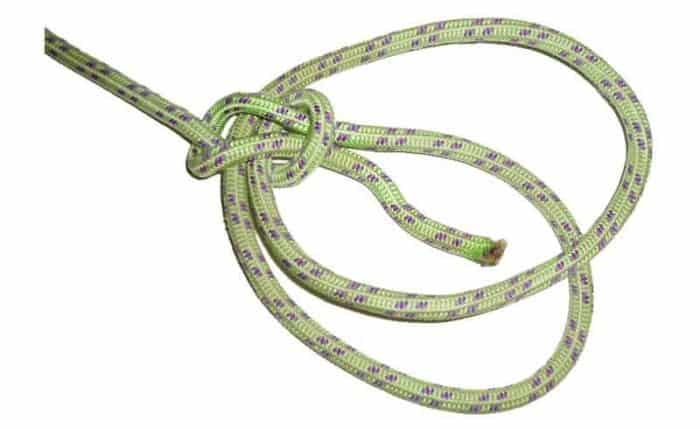
How To Tie A French Bowline Knot
Published by Joe Appleton in Nautical Knots Last updated on September 9, 2023
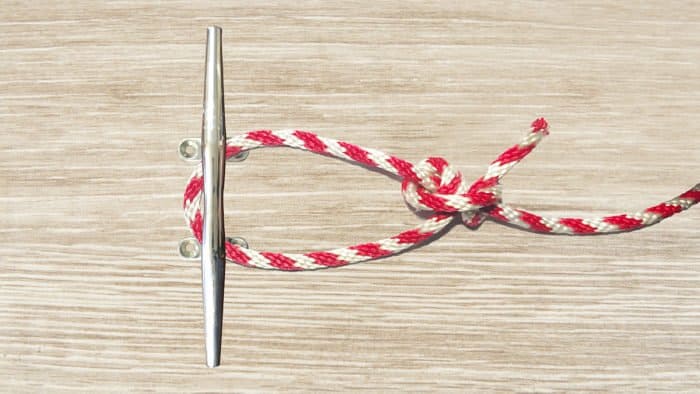
The French Bowline Knot is a practical and reliable knot that forms two secure loops. It’s also known as the Portuguese Bowline, and is very similar to the Bowline On A Bight. It has a number of practical uses including the Bosun’s Chair harness, which can be used to help transport heavy goods, to allow a worker to perform work at height, or rescue injured people.
Uses For the French Bowline Knot
Apart from being used as a harness, the French Bowline can be used to join two ropes together; for fastening mooring lines; for rigging work; and it can also be used as makeshift shackles if necessary.
Given that this knot has so many uses and can comfortably distribute weight without binding, it’s an essential knot for all boaters to learn. Here’s how to tie it.
How To Tie A French Bowline Knot
The French Bowline is a fairly simple knot but the instructions can be hard to follow. When you’re learning, try not to overthink what you’re doing and you’ll have greater success. To get started, grab a length of rope and get ready to tie to this practical knot.
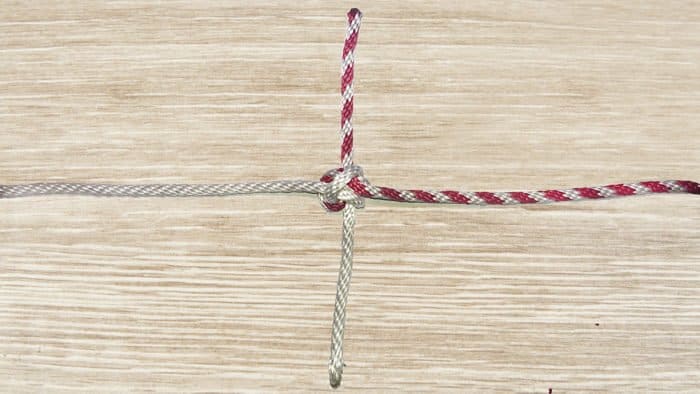
Step One: Begin by passing the working end of your rope over the standing end to form a small overhand loop in the middle of the rope.
Step Two: Pass the working end of the rope through the loop you’ve just made. Adjust this second loop to your desired size.
Step Three: Bring the working end up through your second loop by feeding it through the small loop.
Step Four: Encircle the standing section of your rope and feed the standing end back through the smaller loop.
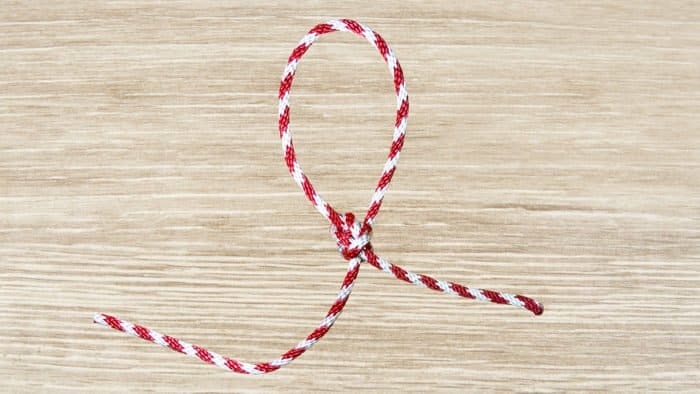
Step Five: Hold the knot section and pull the loops downward. Once tightened, the knot is complete.
Other Things To Consider
Once you’ve successfully mastered this knot, it’s worth taking a bit of time to familiarize yourself with the tying method, and some of the knot’s uses, variations, alternatives, and shortcomings. Here are a few things to keep in mind!
Warnings
As with many knots, the French Bowline does have a few shortcomings.
- It should not be loaded in another direction apart from downward, or it will likely come undone.
- It cannot be untied whilst under load.
- If you’re using both loops, make sure to load them evenly or it could cause the knot to become unstable.
Variations
The French Bowline Knot can be tied with one hand. Learning how to tie it with one hand is a great skill, and you should take the time to master it. The Bowline On A Bight is also a variation of this knot which is also worth learning. They both perform the same kind of job.
Alternatives
Apart from the Bowline On A Bight, the French Bowline can also be replaced with an Alpine Butterfly Loop or a Figure-Eight Loop. Take care not to confuse the Figure-Eight Loop with the classic Figure 8 Knot, because a stopper knot won’t do you much good when you need to construct a harness!
Categories: Nautical Knots