How To Tie A Carrick Bend Knot
Published by Joe Appleton in Nautical Knots Last updated on August 9, 2023


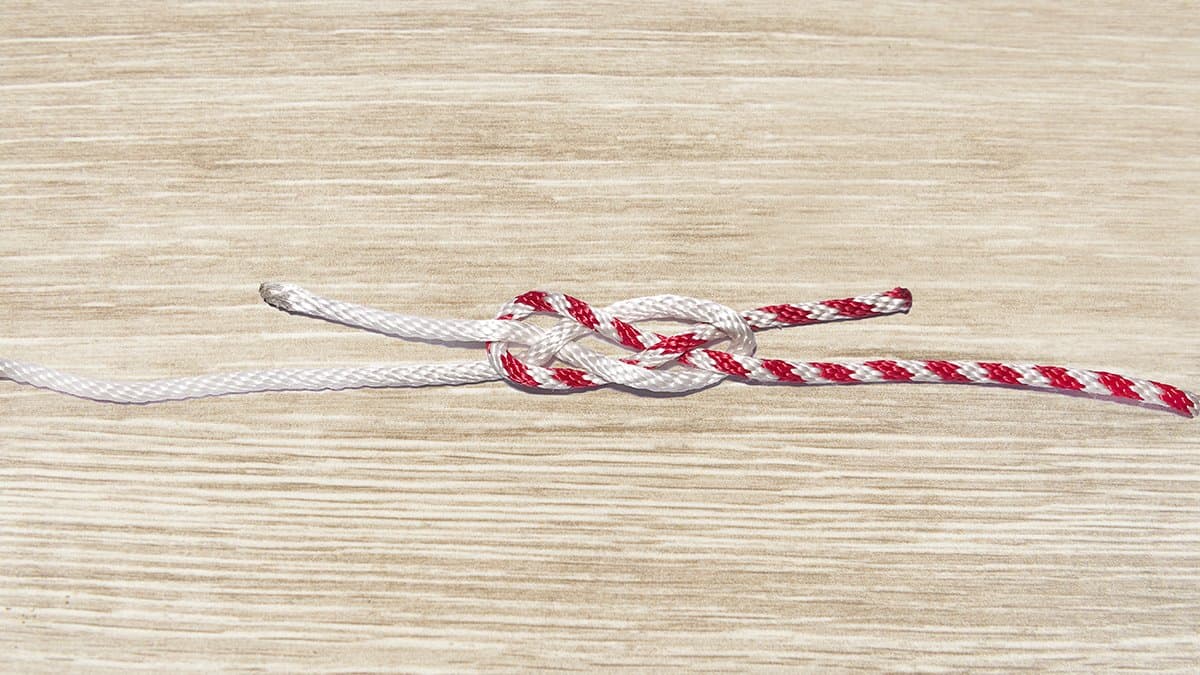
If you’re looking for a safe and reliable way to secure two ropes together, then you should learn how to tie the Carrick Bend knot. Sometimes known as the Sailor’s Breastplate
About the Carrick Bend
Modern sailors use the Carrick Bend Knot to safely join two separate lengths of rope together. It’s a particularly useful knot for joining large diameter ropes together, or ropes with dramatically different diameters together. It can be drawn-up tight or left loose for decorative purposes—because it’s a very pretty knot that many sailors and boaters make purely for decoration.
Uses
The basic purpose of the Carrick Knot is joining two ropes together. Beyond this, the Carrick Bend Knot has a wide range of uses.
Practical Uses
Since it’s a strong and reliable knot that’s relatively easy to undo, it’s a very practical knot. Unfortunately, it’s quite a tricky knot to tie so many people prefer simpler alternatives. One of the most popular reasons for using a Carrick Bend Knot is when constructing a cargo net.
Now, no sane person should ever want to make their own cargo net, however, the Carrick Bend is the ideal knot to use.
Additional Uses
Apart from net-making, the Carrick Bend is also used for
- Decorative lanyards
- Securing heavy loads
- Joining lines together that need to pass through capstans.
- It’s also a very decorative knot used to enhance a nautical theme in offices, boat cabins and so on.
If you want to learn how to tie the Carrick Bend Knot, here’s all you need to know.
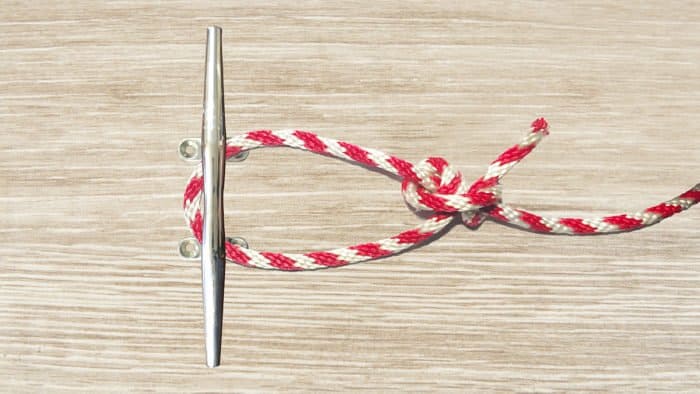
How To Tie A Carrick Bend Knot
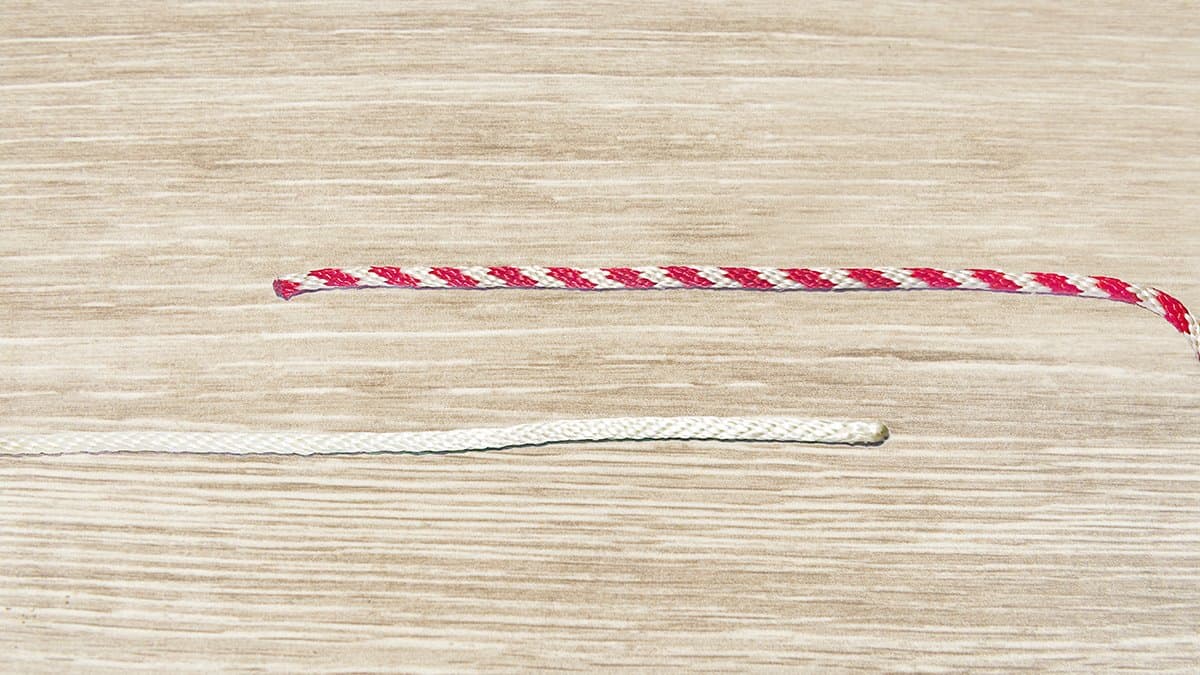
To tie a Carrick Bend, you’ll need two separate lengths of rope. Grab a couple of pieces and learn to tie this practical knot!
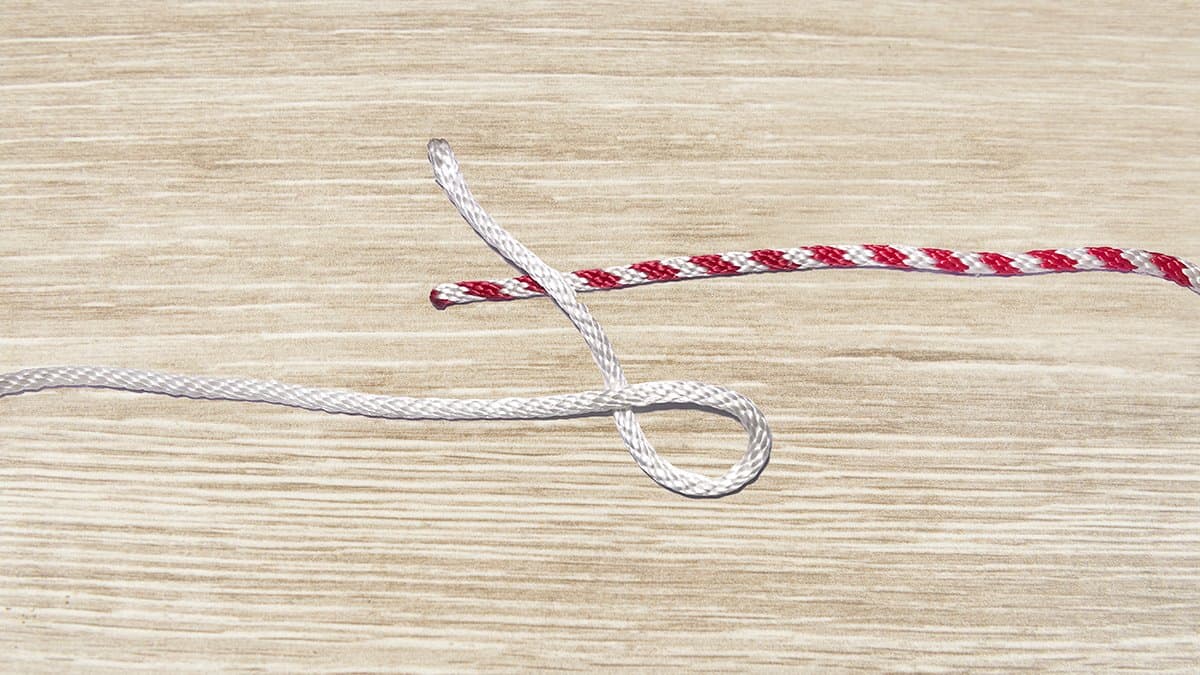
- Step One: Begin by forming a loop with one of the ropes, and lay this loop on top of and over the working end of the second rope.
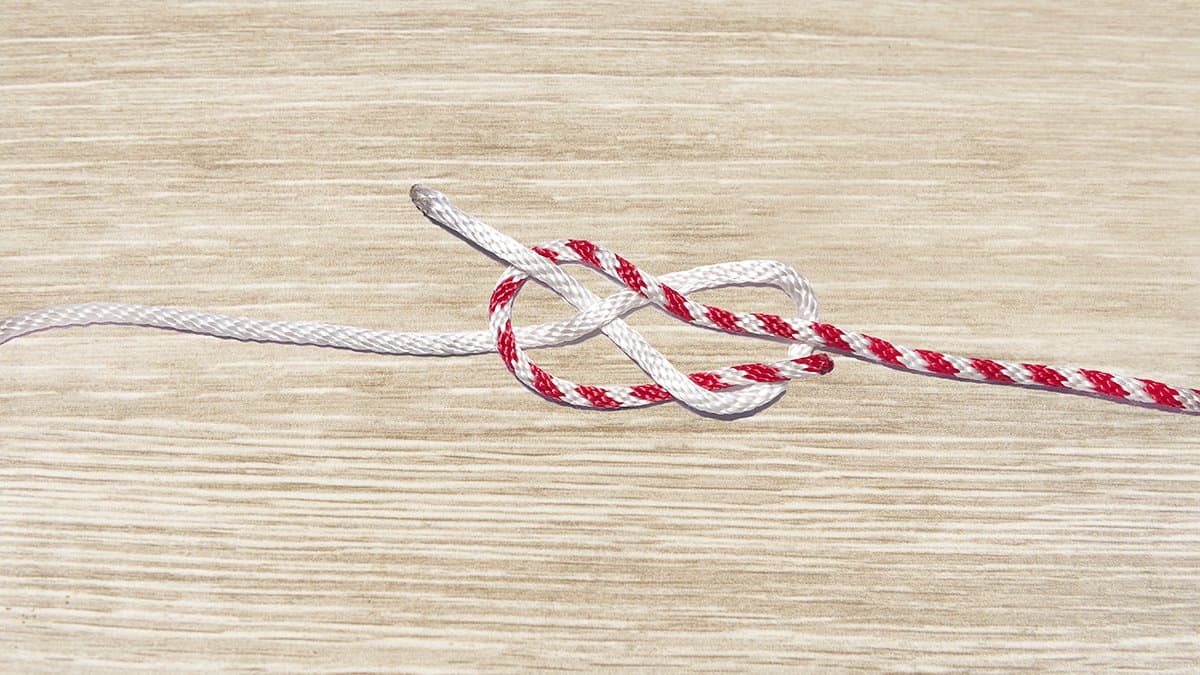
- Step Two: Pass the working end of the second rope around the first loop you just made. Remember to pass the rope in an over, under, over under sequence.
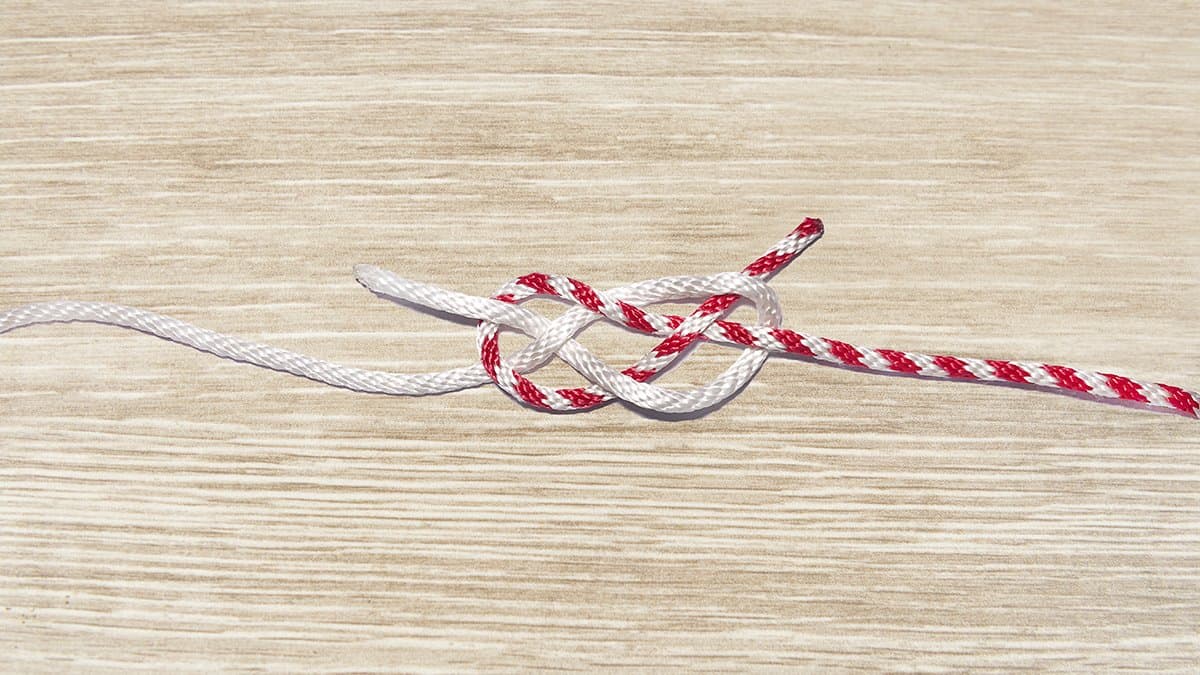
- Step Three: The ends of the rope will emerge on the opposite side of the knot. Tighten them by pulling the ends of the rope.
- Step Four: Though not essential, it’s a wise idea to seize the loose ends of the ropes to the standing ends, particularly if the ropes are large in diameter.
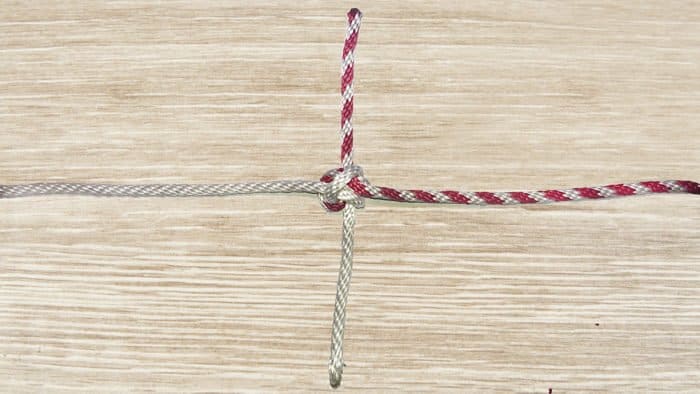
The Carrick Bend Mat
The Carrick Bend Mat is another decorative knot based on the Carrick Bend that connects the ends together. The basic process is identical to the Carrick Bend knot with a small addition. Here are the steps for tying the mat.
- Step One: Start by forming a loop and then lay the rope across it as above.
- Step Two: Pass the working end of the second rope across the loop using that alternating over and under sequence mentioned above.
- Step Three: Follow the same path around again still using the over and under sequence until only a small segment of loose rope tail remains.
- Step Four: Now you can tuck the end in and secure it leaving a finished knot in a mat form, rather than with loose ends.
Like the basic Carrick Knot, this is considered a nice looking nautical-themed decorative application, but is neater without the excess rope hanging off.
Other Things To Consider
When using the Carrick Bend knot over some other knots, there are a few things to keep in mind.
Strength and Efficiency
This practical knot is great: it looks good, and it’s fairly strong. However, it’s not actually as strong as many sailors would think.
- Under tests, it was proven that the Carrick Bend Knot only has an efficiency score of around 65%.
Still, it’s a good knot to know. But before you put all of your faith into it, here are a few extra things to consider: some warnings, tying variations, and practical alternatives.
Here’s everything else that you need to know about this knot!
Warnings
Depending on what your expectations are from your knot, there are different ways to finish it.
- It can be seized, which involves binding the working ends to the standing ends, and this allows for a prettier knot that’s secure but difficult to untie.
- Or, you can leave the working ends loose and tighten the knot. It’s not as attractive but it can firmly secure heavy loads, and it’s easy to untie if the weave is loose.
- Also, if the knot capsizes naturally then it can occasionally slip. This is quite rare though.
Variations
Like we’ve mentioned above, you can tie this knot with or without seized ends.
- To seize the ends, simply use a smaller diameter of rope or twine, and whip the working end to the standing end.
- Seizing, or whipping, a rope creates a semi-permanent fastening between two ropes.
Alternatives
Suitable alternatives to the Carrick Bend Knot include:
- The Sheet Bend
- The Square Knot
- The Granny Knot
- The Thief Knot
- The Double Coin Knot.
The Carrick Bend is arguably the most secure option. The Double Coin Knot is still very secure, and every sailor should learn how to tie that alternative knot. Why? Because it looks great. It’s a great knot to tie to show off your knot-tying prowess!
The Bottom Line
The Carrick Knot is ideal for both practical and decorative purposes. It can be hard to master and there are many alternatives, however. That said, if you want to have a full repertoire of knot tying skills, it’s a good one to learn because of how strong it is as well as how easy it is to work with one you have it tied.
Categories: Nautical Knots